Upload Document
Purpose
Upload one or more documents into a folder in EisenVault One. You can upload individual files, multiple files at once, or entire folder structures.
Prerequisites
- You are signed in to EisenVault One.
- You have permission to add content to the target folder.
- You can navigate to the folder where the documents should be stored.
Before You Begin
Uploads always go into the folder that is currently open in the Explorer. There is no destination picker inside the upload window, so navigate to the correct folder first using the folder tree, breadcrumb path, or by clicking into folders in the file list.
Some folders require metadata before upload. When that applies, the upload window opens as Uploader Plus. See Upload with Metadata below.
Standard Upload
Use this method for folders that do not require metadata.
- Navigate to the target folder in the Explorer.
- Click Upload Files in the toolbar.
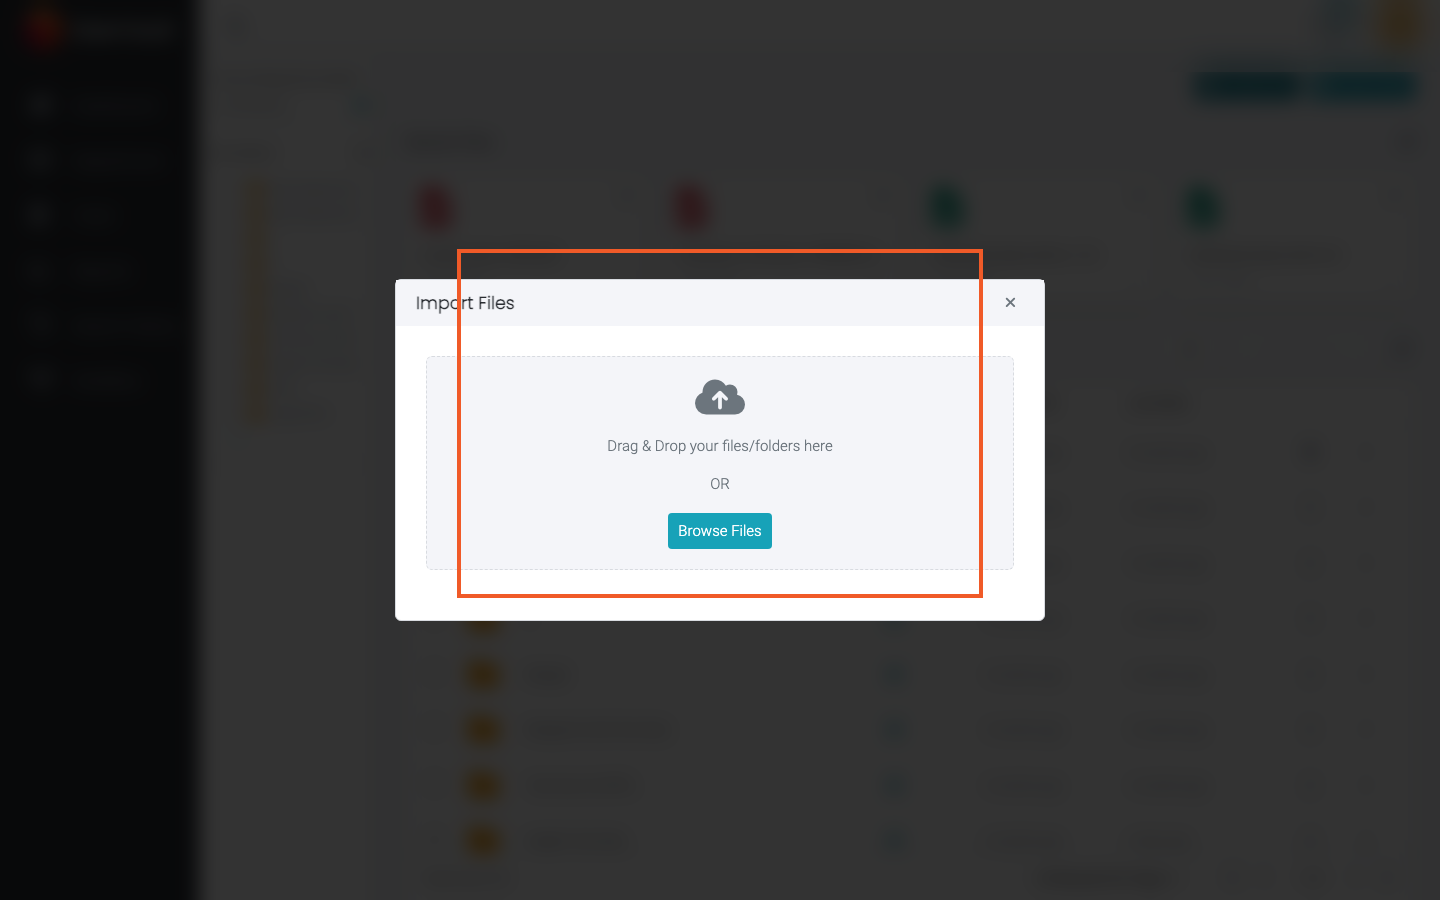
- In the Import Files window, add your files using either option:
- Drag and drop files or folders onto the Drag & Drop your files/folders here area.
- Click Browse Files and select one or more files.
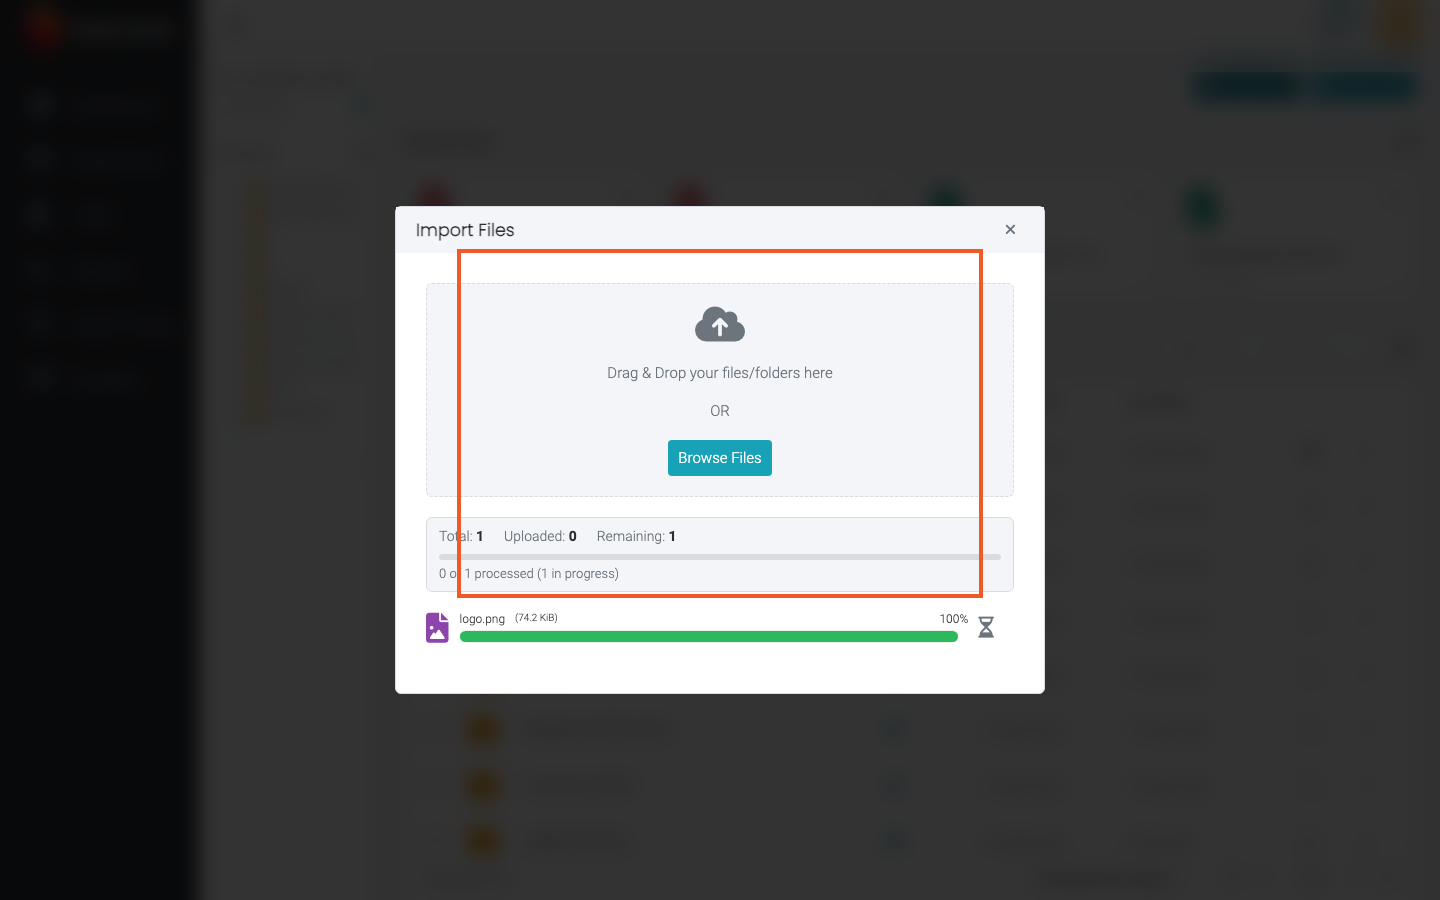
- The upload starts automatically. A progress bar appears for each file showing its status: Waiting, Uploading, and Uploaded.
- When every file shows Uploaded, the window closes automatically, unless some files failed. In that case it stays open so you can review them.
You can also start an upload by dragging files or folders directly onto the file list. A Drag and Drop Files/Folders here overlay appears, and the upload window opens with your files already queued.
Example Walkthrough
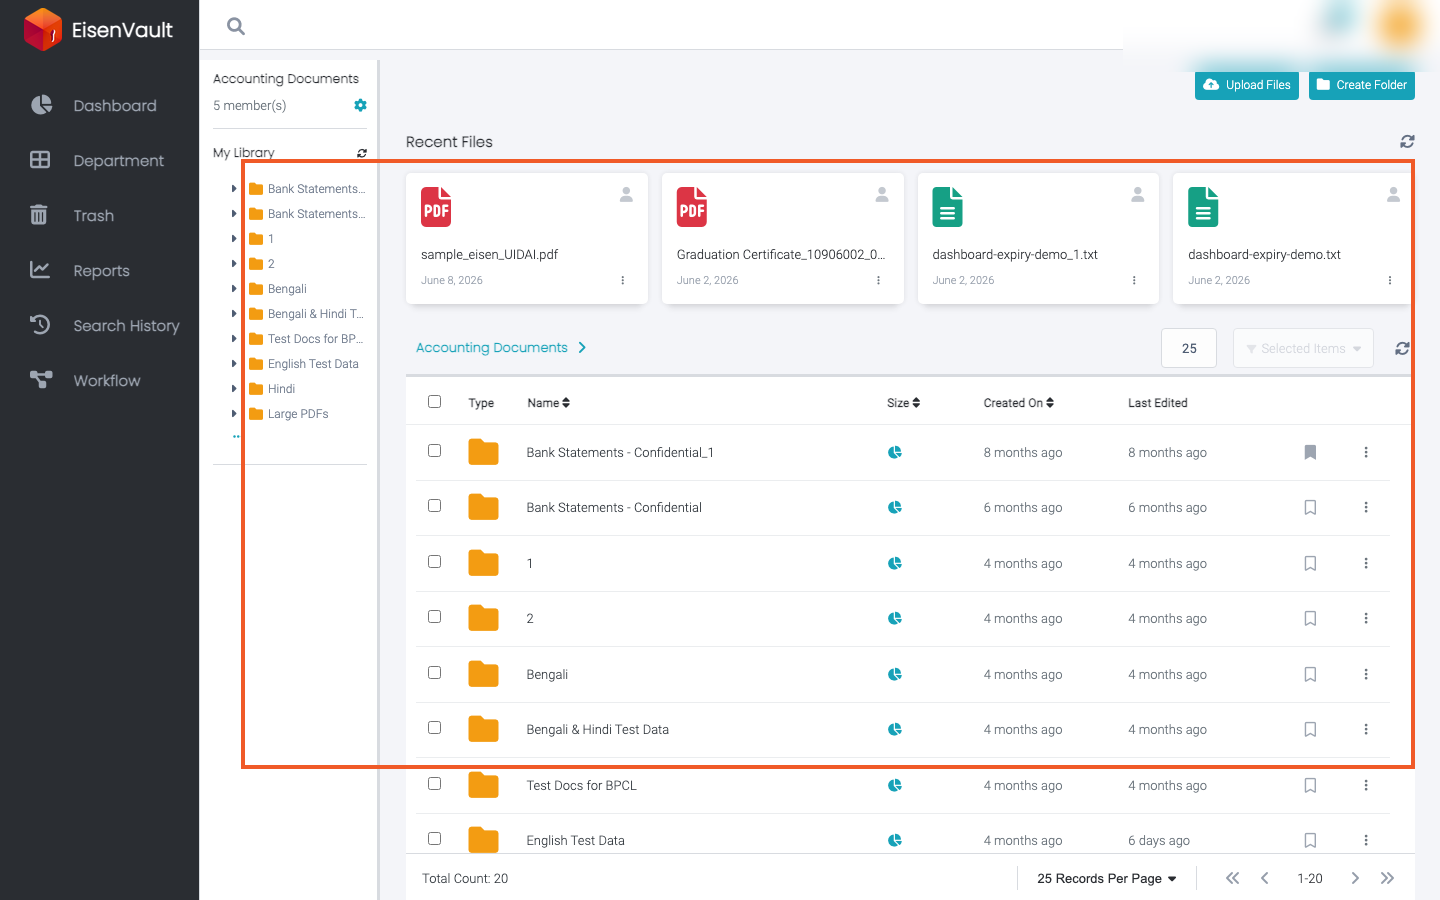
The screenshots below show an upload in Accounting Documents.
-
Open the target department and confirm you are in the correct folder before starting the upload.
-
Click Upload Files to open the Import Files window.
-
Add a file using Browse Files or drag and drop. The file is queued in the upload window.
-
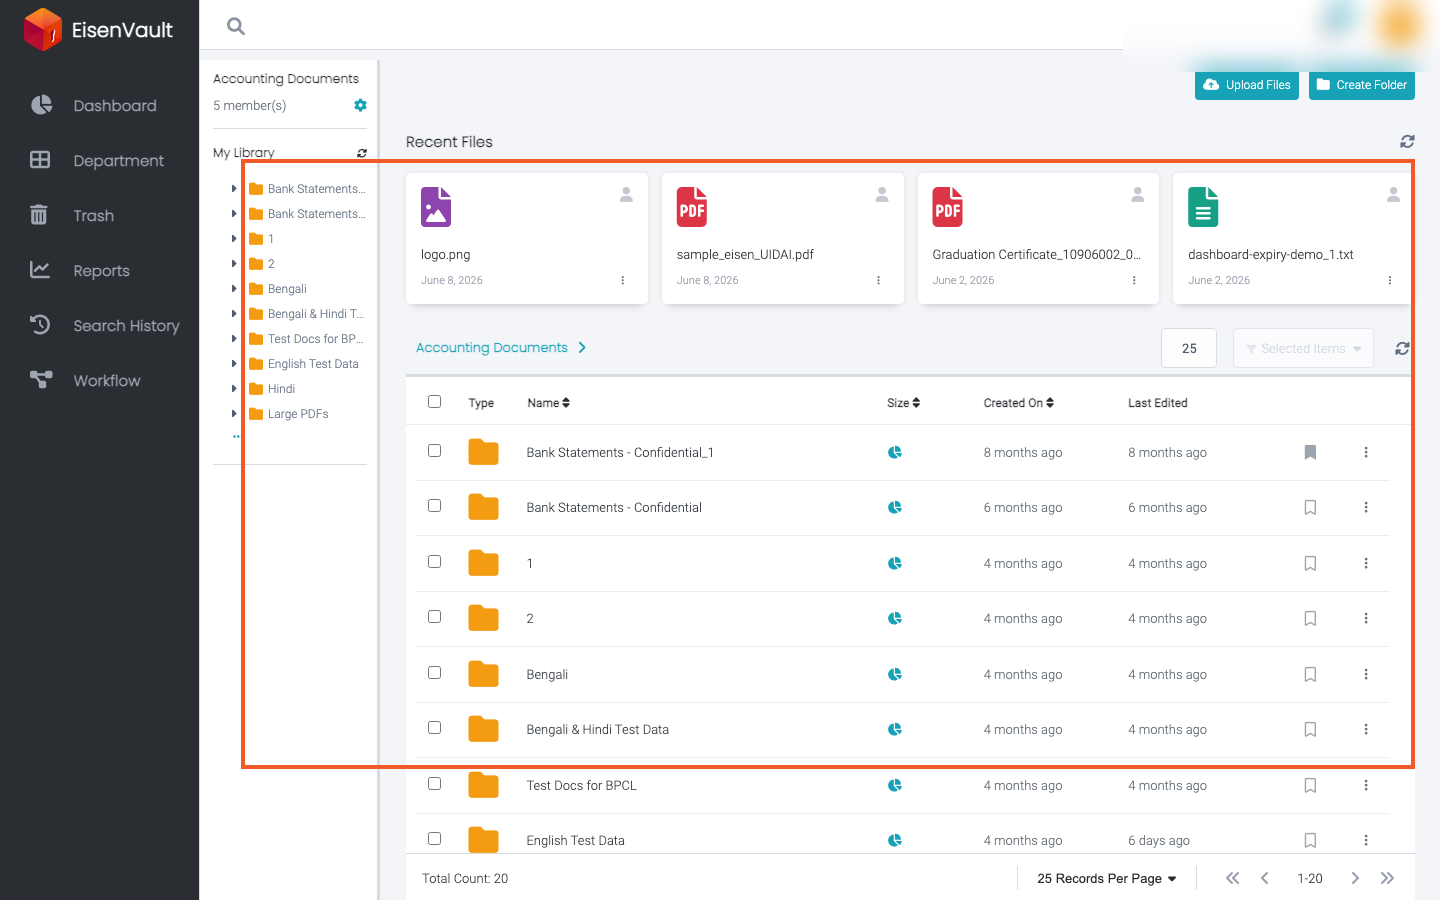
When the upload completes, the file appears in the folder and under Recent Files.
Upload with Metadata
If the folder requires document types, the upload window opens in metadata mode and is titled Uploader Plus. This is different from the Uploader Plus item in a folder's options menu, which administrators use to configure the document types a folder requires.
- Navigate to the folder and click Upload Files.
- Add your files using drag and drop or Browse Files.
- For each file, complete the metadata step:
- Choose the file from the Select File list.
- Select a value under Document Category.
- Fill in the category fields. Required fields must be completed before you can continue.
- To reuse the previous file's entries, select Same as previous.
- Click Next to move to the next file. Each completed file is marked (Configured); pending files are marked (Pending).
- When all files are configured, click Upload.
- Progress bars appear for each file, and the window closes automatically once all uploads succeed.
Selecting Files and Folders
- Browse Files supports selecting a single file or multiple files. It does not support selecting a folder.
- Drag and drop supports single files, multiple files, and entire folders. Nested folder structures are recreated inside the target folder.
- Empty files (zero bytes) and files whose names start with a dot (for example,
.config) are skipped.
Track Upload Progress
- While files upload, the window shows a summary with Total, Uploaded, Remaining, and Failed counts and an "X of Y processed" line. The All Files tab lists every file with its status.
- Click Pause to hold the queue and Resume to continue.
- Minimize the window to keep working. The upload keeps running and the progress moves to a small panel titled Uploading files at the bottom of the page. Click it to expand the window again.
- When the uploads finish, a message reports how many documents uploaded successfully and how many failed.
Handling Failed Uploads
- If a file fails, its progress bar turns red and a retry option appears. Failed uploads are retried automatically up to three times.
- When one or more files fail, a notice appears and the window shows two tabs: All Files and Failed Uploads. Open the Failed Uploads tab to review and retry failed items.
- If you close the window while files are still uploading, you are asked to confirm. (Minimizing it does not cancel anything.) Choose Abort! to cancel the remaining files or Keep files! to continue uploading.
Duplicate File Names
If a file with the same name already exists in the folder, the result depends on the system's duplicate handling setting, which is controlled by your administrator:
- A version may be added to the file name.
- The version of the existing file may be incremented.
- The upload may be blocked, in which case the file shows the error "File already exists in the specified path".
Expected Result
- The uploaded documents appear in the open folder.
- Recently uploaded documents also appear under Recent Files.