Edit Group
Purpose
Update a group's name or membership after the group has been created.
Note: This action may require administrator privileges.
Prerequisites
- You are signed in as a user administrator or system administrator.
- You can open Admin Tools > Groups.
- The group already exists.
- The group allows membership editing.
Before You Begin
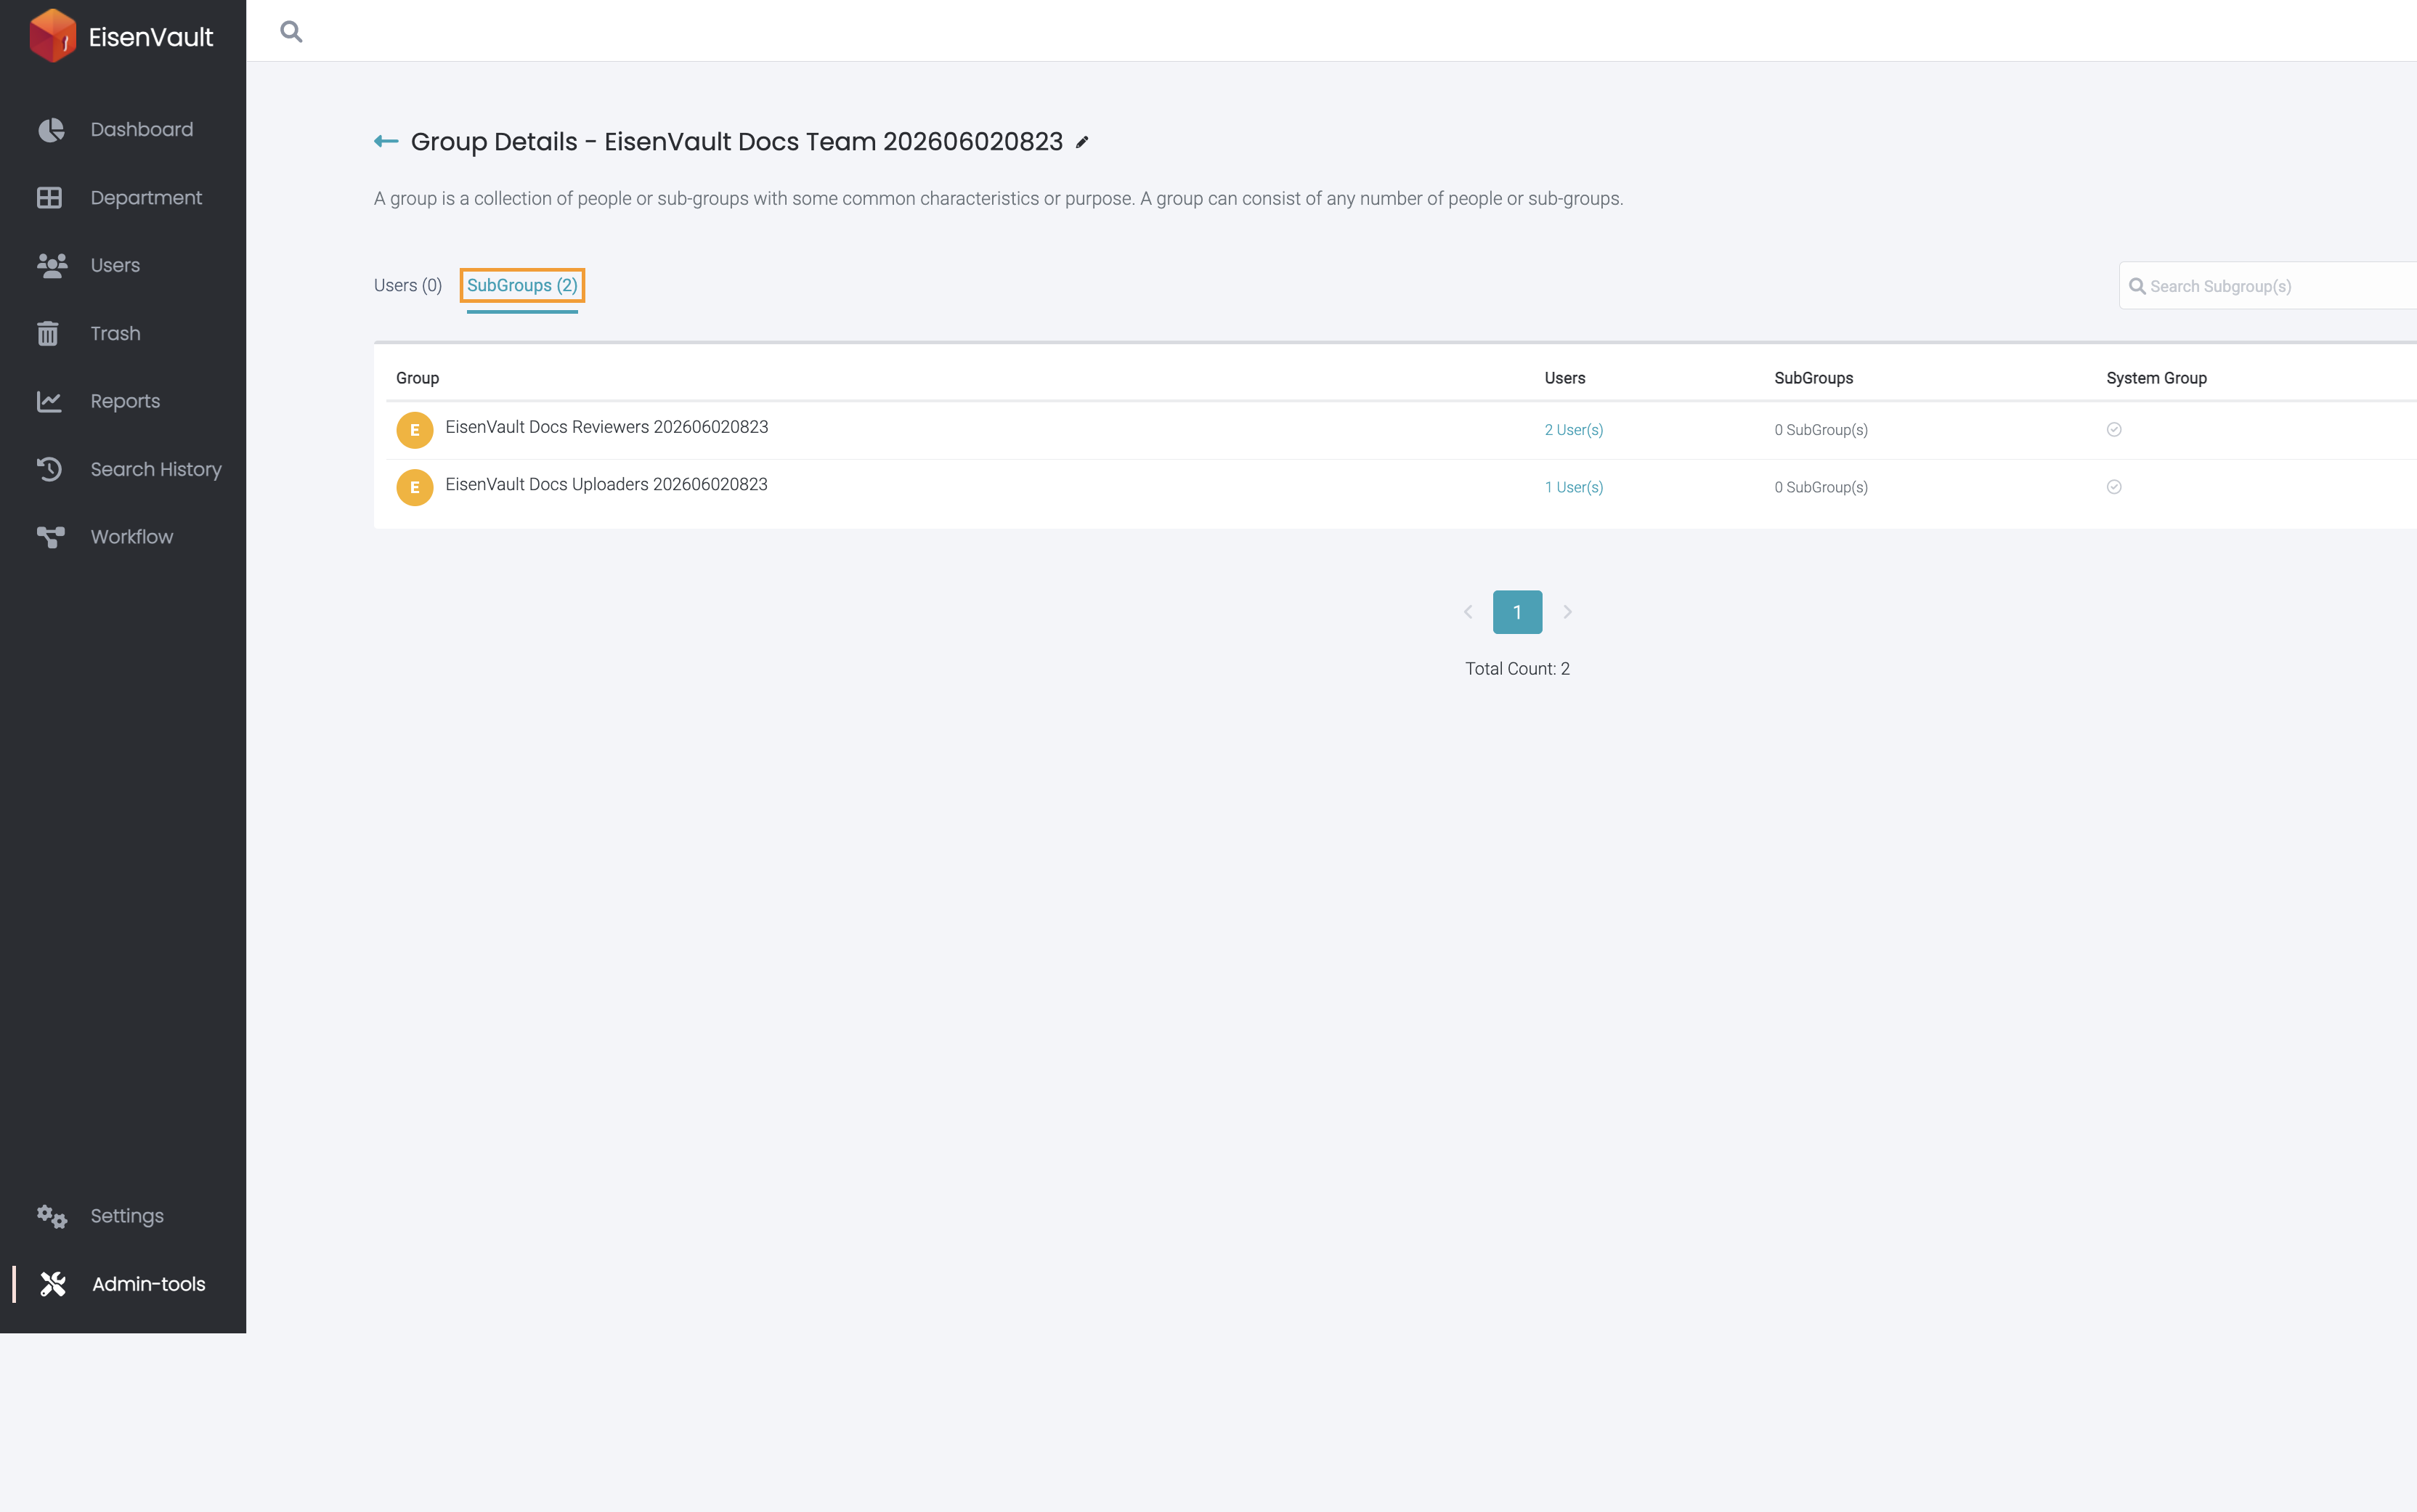
Group details are organized into two tabs:
- Users — users directly added to the group
- Subgroups — nested groups whose users are treated as members of the parent group
Some system-managed groups may not allow editing. If the edit actions are disabled, the group may be protected or linked to a system-managed department.
Edit a Group
- Open Admin Tools > Groups.
- Find the group you want to update.
- Click the group name to open Group Details.
- To rename the group, click the pencil icon beside the group name.
- Use the Users tab to review or update direct user membership.
- Use the Subgroups tab to review or update nested groups.
Example Walkthrough
-
Open the group details page. The Users and Subgroups tabs show how membership is organized.
-
Use the plus button in the toolbar to add users or subgroups, depending on the selected tab.
Expected Result
- Group membership changes are saved.
- Users receive access through the group wherever that group is assigned.
- Nested subgroup users receive access through the parent group.